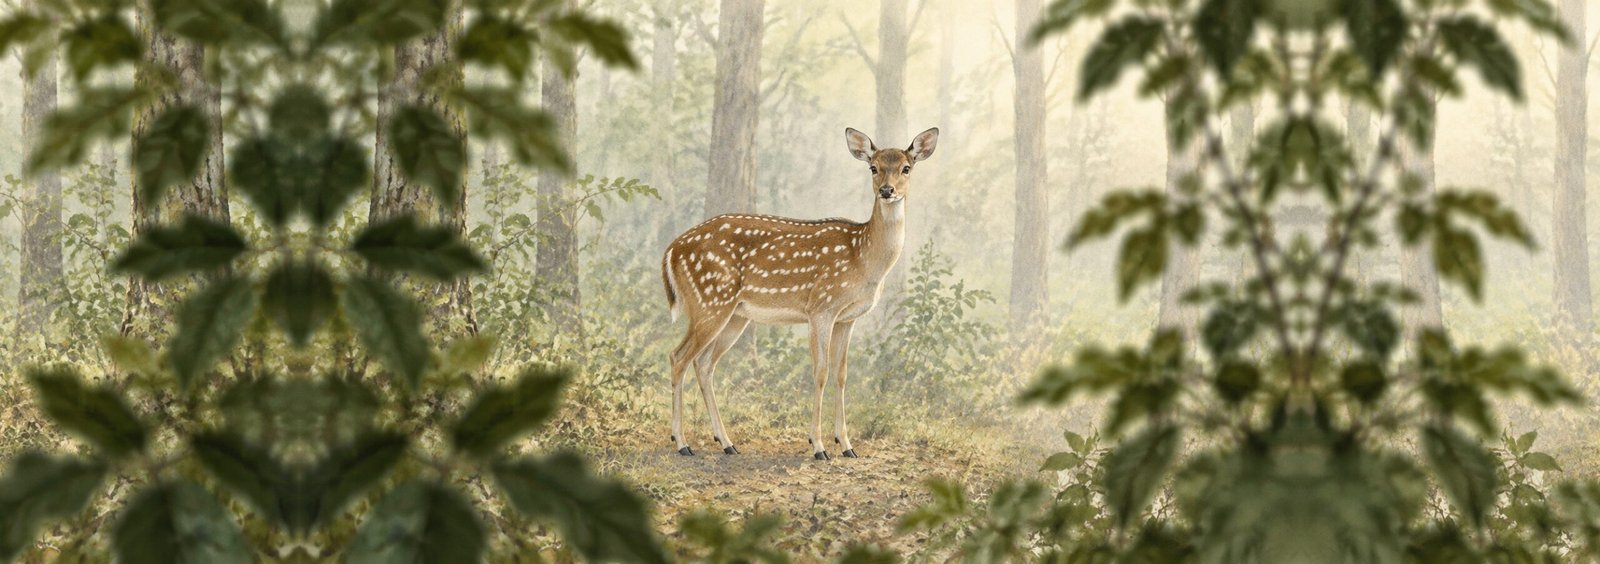
The animal is still there, but the sharpest thing in your photograph is a twig. You try again, the lens searches, and the same leaf returns to crisp focus. This is a useful moment to stop treating autofocus as a single on-or-off decision. Ask what the camera can see, what you want it to choose, and how to make that choice less ambiguous.
Photographing through foliage is a practical focusing problem before it becomes a creative effect. This guide works through a simple recovery sequence for an animal partly hidden by branches or grass. The aim is a readable subject from your permitted position, not a perfectly clear view at any cost. Some scenes will remain too obstructed, and recognising that is part of the skill.
Identify the kind of failure before changing a setting
Look at one photograph at a useful playback magnification. If the leaf is crisp and the animal is soft, the camera may have focused at the wrong distance. If nothing looks crisp, camera movement, subject movement, missed focus or several problems together may be involved. A focus-area change cannot fix every kind of softness.
Keep the diagnosis modest. One frame rarely proves the whole story. Compare a short sequence if you have it: does the sharp plane repeatedly land on the same foreground branch, or does it vary? A repeated sharp obstruction gives you a more specific problem to solve than the general impression that the lens is not working.
Also separate a focusing problem from something physically hidden. An eye behind a thick branch is not simply an eye waiting for a better autofocus setting. You may focus correctly on the animal and still make an unreadable portrait. Decide whether there is a visible feature worth prioritising before spending the encounter changing controls.
Give the camera a visible target at the animal’s distance
A small patch of fur, a visible edge of the head or an exposed part of the body may offer a more usable target than the space where you expect the eye to be. Choose something that actually belongs to the animal, not a leaf overlapping it. The target should support the intended photograph: for an eye-led portrait, a focused flank is not automatically an adequate substitute.
Nikon’s autofocus troubleshooting guidance explains that a selected focus point needs to be positioned over the subject and that low contrast or a subject smaller than the focus point can make focusing difficult. The practical lesson is to inspect what sits inside the active area, rather than judging its placement only by the centre marker.
Do not assume that a reassuring detection box proves the final photograph is sharp. Treat it as feedback about the camera’s selection. Confirm the result when the situation permits. You can then distinguish a camera that is choosing the wrong object from one that recognises the animal but struggles to hold useful detail.
Make the focus area selective enough to avoid the obstruction
If a broad area repeatedly favours nearby foliage, try a smaller, manually positioned area that your camera supports. Place it on the exposed feature you selected. This is an experiment, not a rule that the smallest option is best. A very small area can be difficult to keep on a moving subject, particularly from a vehicle or with a long lens.
Names and behaviour differ between cameras. Nikon’s Z7 II and Z6 II focus guide, for example, describes distinct single-point, dynamic-area and wide-area modes, with conditions attached to their availability. Those descriptions are not a menu map for every camera. Use your own model’s instructions to identify the equivalent control and practise finding it before a safari.
Change the area, then try a short sequence without changing several unrelated settings. If the branch stops attracting focus but keeping the target covered becomes impossible, you have learned something useful: selectivity helped the distance choice, while handling became the new limit. A slightly larger controlled area may be a better compromise.
Watch the opening rather than chasing every leaf
Grass and small leaves may move across the line of sight. Instead of repeatedly shifting the focus area to avoid each passing blade, identify an opening that gives a workable view of the animal. Watch whether that opening remains useful as the subject turns. The task is to keep a meaningful target available, not to react to every moving shape.
Hold a composition you can manage comfortably. If you are constantly steering the camera between tiny gaps, a wider frame may make target placement easier, even if the animal becomes smaller. Equally, a tighter frame can exclude an unwanted edge. Compare these as framing choices from the same safe position; neither is an instruction to move closer.
Let the guide’s directions and site rules control any vehicle movement or change of position. Do not lean beyond a safe seating position, leave a vehicle to clear a sightline or ask anyone to disturb vegetation around an animal. When no useful opening exists, observing without making the intended photograph is a valid outcome.
Separate focus mode from focus-area choice
Focus area concerns where the camera looks. Focus mode concerns how focusing responds as distances change. They are related decisions, but changing one does not necessarily change the other. A carefully placed point can still lose a walking animal if the camera is no longer updating focus as you expect.
For a stationary subject, your camera may offer a single-focus method that holds a measured distance. For a moving subject, a continuous method may be more appropriate. Check the behaviour of your shutter button, AF button and any custom controls. Do not copy someone else’s button sequence without knowing whether your own setup keeps focusing while it is held.
A paused animal can move again before the exposure. If you use focus lock and then wait, the original distance may no longer be useful. Recheck after a head movement or a change in your own framing. The point is not to switch modes constantly, but to understand the circumstances in which your chosen method stops matching the scene.
Use manual focus as a deliberate fallback, not a panic move
If autofocus repeatedly chooses the obstruction, manual focus may help with a sufficiently still subject. First confirm the correct way to engage it for your camera and lens. Some combinations permit particular kinds of manual override; others require a mode change. Do not force a ring or assume every lens behaves the same way.
Where supported, magnified live view can help you inspect a visible feature more closely. Nikon’s focus guide describes zooming the view to check manual focus and warns that an in-focus indicator can be misleading with subjects unsuitable for autofocus. Treat focus peaking or confirmation symbols as aids, not a replacement for looking at the actual feature.
Magnification also narrows your view of what is happening. Return to the full composition when needed, especially if the animal begins moving. Manual focus is not a test of photographic seriousness. If it takes too long or becomes unstable, return to a familiar method, simplify the picture or let the moment pass.
Do not expect aperture to remove a branch across the face
A wider aperture can make some out-of-focus foliage less defined, but it does not make every obstruction disappear. A broad dark leaf may still obscure the eye, and a bright blurred patch may remain distracting. Before changing aperture, distinguish the appearance of the foliage from the accuracy of focus on the animal.
Canon’s wildlife photography guidance discusses using out-of-focus areas to separate a subject and checking the background for distractions. Apply that as a visual choice rather than a promise that maximum blur fixes a difficult scene. The distance relationships, lens and framing all affect the result.
Compare a frame after the change. Did the animal become clearer to read, or did the obstruction merely become a larger soft shape? Also inspect whether the detail you wanted remains sharp enough. Keep exposure and subject movement in mind; changing aperture may change the camera’s other exposure choices, depending on your mode.
Run a short recovery sequence instead of a menu search
Consider a hypothetical deer standing behind scattered stems. The first frame shows a sharp stem and a soft head. Start by finding a visible area on the head, place a more selective focus area there, acquire focus again and make a brief comparison. Keep the composition broadly similar so the effect is easier to judge.
If focus reaches the head but the face remains visually blocked, the next task is different. Wait for a natural turn or use another available opening without changing your permitted position. If autofocus still selects the stem despite careful placement, try the familiar manual-focus fallback only if the subject and your support make that manageable.
Do not turn the sequence into a requirement to capture an image before the animal leaves. You might reach only the first comparison. A clear diagnosis of why the frame failed is more useful for the next encounter than a hurried collection of menu changes whose effects you cannot separate.
Practise the distance choice before travelling
You can rehearse the control sequence without wildlife. From a safe, ordinary location, choose a fixed distant object seen through nearby leaves, or use two household objects at different distances. Avoid looking towards bright sun through a telephoto lens. The purpose is to recognise the selected plane and change your focus area without searching the whole menu.
Make one frame focused on the nearer object and another focused on the farther one. Compare the files so you recognise what a wrong-distance result looks like. Then practise returning from a more selective setting or manual focus to your normal setup. This is equipment familiarisation, not proof that a moving animal will behave like the practice target.
Write down the control that you kept forgetting. A useful note might be: the small area worked, but moving it took too long; practise the joystick before the trip. That gives the next practice session a specific job. Buying a different lens need not be the first response to an unfamiliar focusing control.
Review the missed frame and restore a usable setup
After the encounter, label the failure in plain language. The branch was sharp; the animal moved after focus locked; the selected feature was hidden; or the whole frame was affected by movement. Keep uncertain cases uncertain. Several causes can produce a soft file, and playback alone may not settle all of them.
Restore any special setting that would be unhelpful for the next subject. A tiny focus area left at the edge or manual focus left engaged can create a different problem when a bird crosses an open background. Check the active area, focus mode and exposure choices rather than relying on memory of what you changed.
The separate composition question belongs in our guide to environmental wildlife portraits: whether the foliage contributes to the picture at all. Here, success is narrower. You understand what the camera selected, have a controlled way to redirect it, and know when the obstruction makes the intended photograph impractical.
Frequently asked questions
Why does the camera focus on a branch instead of the animal?
The active focus area may include objects at competing distances, while the animal offers a smaller or less distinct target. Inspect the selected area and the resulting photograph. A more selective area placed on a visible part of the animal may help, but camera behaviour varies.
Should I turn animal-eye detection off?
Not automatically. First check what it is selecting and whether the eye is visible. If the system repeatedly chooses the wrong target, test another supported selection method that you understand. Compare the result rather than assuming detection is either infallible or useless.
Is manual focus better for photographing through grass?
It can be useful when autofocus keeps choosing nearby grass and the subject stays sufficiently still. It can also be difficult with movement or unstable support. Use it as an available fallback, with your camera’s checking aids, rather than a universal preference.
Will the widest aperture make the leaves disappear?
No setting guarantees that. Nearby foliage may become softer, but its colour, brightness and coverage can still interrupt the subject. Judge the actual photograph and keep the intended animal detail in focus. An opening in the foliage may matter more than extra blur.
Can I lock focus and wait for the animal to move into a gap?
Only if the chosen distance still suits the subject when you make the exposure. An animal moving towards or away from you can leave that plane. Understand how your camera locks and resumes focus, then recheck rather than trusting an old measurement.
What if there is no clear view from the vehicle?
Follow the guide’s directions and remain in the permitted position. Do not clear vegetation or pressure an animal to move for the picture. You can wait, make a different kind of frame if one is workable, or simply watch the encounter without forcing a photograph.
2 Responses