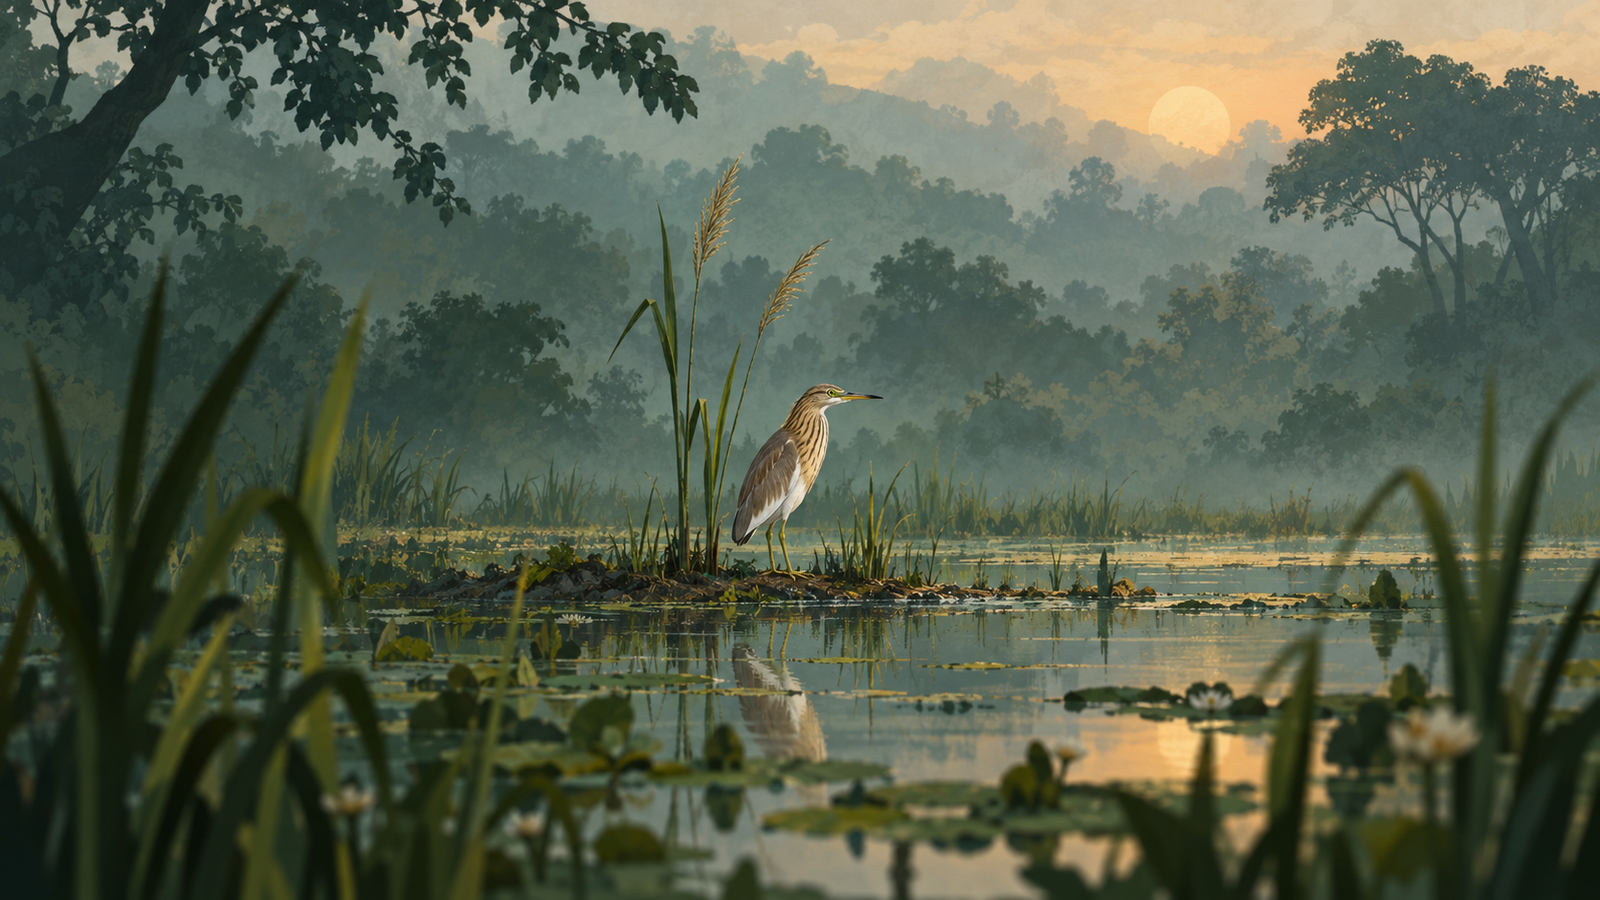
A bird is standing beside a tall reed. You turn the camera upright because both subjects seem to ask for a narrow frame. The first image includes the whole bird, but the reed touches the top, the feet sit awkwardly close to the bottom and a bright patch has appeared beside the head. Turning the camera changed the problem; it did not finish the composition.
Vertical wildlife photography is worth practising as a separate framing decision. It asks what should travel from the bottom of the picture to the top, what should stay outside the narrow sides, and how much room a moving animal needs. This guide concentrates on that upright rectangle, not on another general guide to photographing animals in their habitat. The examples are invented practice situations, not accounts of Katrivia sightings or promises about a tour.
Give the upright frame a specific job
Before rotating the camera, name what the vertical arrangement would add. Perhaps a standing bird and its perch make a continuous shape. Perhaps the photograph depends on the relationship between an animal and something above it. Or you want a close portrait whose important features fit more naturally in a tall rectangle. Each is a reason to try, rather than a guarantee that the result will work.
Do not turn upright only because the animal is tall. A tall subject can still need width for a gesture, a tail or the direction of its gaze. Equally, a small subject can work in a vertical picture when the surrounding arrangement gives the height a purpose. Look at the actual boundaries of your proposed frame, not the label portrait orientation.
Finish a short sentence: this picture needs height because… If the answer is merely that you already made a horizontal version, treat the next image as an experiment. You are allowed to discover that the horizontal photograph remains stronger.
Make the support change before the important moment
An upright camera changes the way your hands, elbows and controls fit together. Before an animal begins an interesting movement, try holding your own equipment vertically from your permitted seat or standing position. Can you reach the controls without losing support? Can you follow a modest movement without catching the camera against a rail or a neighbour’s lens?
Use the camera and support instructions for your particular equipment. A tripod collar or rotating head is not interchangeable across every lens and support, and this guide does not prescribe loosening unfamiliar hardware during a sighting. If you do adjust a supported setup, first make sure you understand what is carrying its weight.
Comfortable handling is part of composition because an awkward hold can make the frame wander. Practise on an unimportant, stationary scene before the trip. On safari, stay within your guide’s directions, do not lean out for the upright view and do not block another passenger while turning a large lens.
Rebuild the frame instead of trimming its sides mentally
After rotating, take a moment to look again. A vertical frame is not simply your previous picture with the left and right removed. Depending on your framing, it may introduce more above and below the animal while changing the balance of everything already included. Inspect those newly important areas before you press the shutter again.
Begin with the main visible shape. Find the head, body, feet or other features you want included. Then trace the space around them. If you need the complete animal, give its outline room to remain legible. If you intend a tighter portrait, make the cut look deliberate rather than allowing a frame edge to decide it accidentally.
Move your attention between subject and boundary. Do not spend the entire check staring at the eye while the rest of the photograph becomes an afterthought. This is a quick framing habit, not a reason to stop watching what the animal is doing.
Audit the top and bottom as a pair
The upper and lower edges carry a different burden in an upright composition. A branch disappearing at the top may feel quite different when the animal’s feet are also pressed against the bottom. Look at both edges together: does the picture seem intentionally enclosed, or does it feel as though you ran out of room?
If a perch matters, consider where it meets the lower boundary. If the ground matters, decide how much is useful. Avoid adding a large empty strip merely to keep a small detail from touching the edge. You may need a different framing scale, or the scene may not suit the upright idea from the position available.
For a close portrait, examine where the lower edge cuts the visible body. Compare a slightly looser and a slightly tighter version if the sighting allows. No universal crop line suits every posture. The useful question is whether the cut supports the portrait or keeps drawing your attention away from it.
Do not take away the animal’s direction
A narrow frame can become cramped quickly when an animal turns its head sideways. Look for space in the direction it faces, and consider whether that space still exists after you turn the camera. Canon’s safari photography guidance recommends leaving room in front of an animal so it looks or moves into the picture rather than out of it.
Use that advice as a starting point, not a compulsory measurement. A frontal portrait, an animal looking upward and an animal walking across the scene ask for different arrangements. If the subject’s gesture runs sideways, a horizontal frame may express it more clearly. Turning upright is not an achievement worth defending against the picture itself.
Watch what happens between frames. A composition that worked for a forward-facing bird may become pinched after a head turn. You can change orientation back, loosen the framing or let that moment pass. You do not need to force every posture into the same rectangle.
Check both narrow sides for collisions
Once the top and bottom feel considered, inspect the two sides. Look for a twig that appears to grow out of the head, a tail that nearly touches the boundary or a second animal reduced to an unexplained fragment. These are visual relationships, not evidence of something unusual happening in the scene.
A tiny shift in your camera’s aim may change a collision without requiring a new position. Make only adjustments your safe viewpoint permits. Do not move vegetation, call to wildlife or ask for a prohibited approach to solve a composition. If you cannot separate the shapes, consider whether the obstruction belongs in an honest picture of the encounter.
Also watch a long feature as it changes direction. A beak, horn, ear or tail can need more side room than the body suggests. Give attention to the full outline rather than fitting a mental oval around the animal and assuming everything else will follow.
Let repetition lead the eye without hiding the subject
Vertical surroundings can create a strong rhythm: repeated trunks, reeds or stems may echo the upright frame. Try following that rhythm with your eyes. Does it lead you toward the animal, or past it toward a brighter line at the edge? Repetition can organise a picture, but it does not automatically give the subject priority.
Choose which relationship matters most. You may want a bird set against a simple gap between stems, or a smaller animal partly absorbed into a larger pattern. Either can be a valid visual intention. What matters is that you can explain the choice and still recognise the subject at a normal viewing size.
The existing habitat-portrait guide explores how surroundings earn their place. The narrower exercise here is to test the direction of the pattern inside an upright boundary. If most of the useful visual movement is horizontal, let that observation guide your choice rather than fighting it.
Keep focus and exposure decisions independent
Rotating the camera does not remove the need to check where it is focusing or whether the important tones are recorded as intended. Once you have a useful upright arrangement, confirm the focus target using your camera’s available controls. Do not assume a successful horizontal frame means the next composition will choose the same part of the scene.
If the camera catches a branch instead of the subject, use the focus-recovery approach appropriate to your equipment. Make one deliberate adjustment, check the result and return attention to the animal. The dedicated foliage-autofocus guide covers that problem in more detail. Here it matters because a strong vertical line can remain visually attractive even when it is the wrong focus plane.
Similarly, notice if the new framing includes a bright opening or more shaded ground. Inspect the result rather than changing exposure solely because you turned upright. Orientation is a design choice; the scene and your intended rendering determine what other adjustments may be useful.
Leave an escape from a composition that is about to fail
For a moving animal, think beyond the frame you have now. If it stretches a wing, lowers its head or turns across the scene, will there still be space? You cannot predict every action, but you can notice when a tight upright composition depends on the animal remaining perfectly still.
A slightly looser view may give you more options, provided it still makes a coherent picture. Do not describe that margin as wasted space before you see what happens. At the same time, an enormous safety border can weaken the photograph you are actually making. Choose a workable compromise and be willing to return to a horizontal frame when the movement changes.
If handling the camera in a new orientation makes tracking uncertain, prioritise a stable, familiar hold over a more ambitious crop. Practise the transition away from a sighting. Wildlife does not owe you repeated movement while you solve a control problem.
Run a quiet horizontal-and-vertical exercise
Imagine a stationary waterbird beside a reed bed. This is a hypothetical practice scene. From the same safe, permitted viewpoint, make a horizontal frame first. If the bird remains undisturbed and there is time, make an upright version with a clear reason for the extra height. Do not change several camera settings simply to make the two pictures feel different.
For a final version, alter only one boundary decision. You might give the top more breathing room or remove a distracting fragment at one side. Stop there and watch the bird. The exercise does not require a large burst, a particular species or a staged head turn.
Later, write a sentence under each image describing what the orientation did. One might explain the bird’s relationship to the water’s edge; another might emphasise its posture. If the vertical version adds little, note why. An unsuccessful comparison can teach you more than an upright picture selected only to complete the exercise.
Review the full rectangle before choosing a crop
At the computer, view each candidate as a complete picture before zooming into feather or fur detail. Check the upright frame from top to bottom, then side to side. Ask whether the head, gesture and surrounding shapes still work together when the photograph is not filling your entire screen.
Compare an original upright frame with a non-destructive vertical crop from a horizontal file if you have both. They are not necessarily interchangeable: the recorded boundaries and the amount of image retained differ. Keep the original files and judge whether the proposed crop leaves enough detail for your intended use. This guide does not set a universal pixel threshold or promise that any crop will print well.
Make the smallest crop that serves a clear intention, rather than repeatedly shaving edges until the animal feels trapped. If a missing foot or wing was never recorded, a tighter crop cannot recover it. Accept a different image instead of inventing anatomy or scenery to complete the composition.
Build an orientation habit, not an orientation quota
The useful habit is to notice when the upright frame has something to offer. You do not need equal numbers of vertical and horizontal wildlife photographs. A sequence can be mostly horizontal because the sightings suited that shape, while one considered upright portrait provides a different rhythm.
Before a future outing, practise turning your camera, reaching its controls and returning to your usual hold without looking away for long. During an ordinary sighting, choose one potential vertical picture and check its job, support, top and bottom, side collisions and direction of movement. That is enough for one focused exercise.
For broader preparation, read Katrivia’s guide to photographing wildlife from a safari vehicle. If you are considering a trip, use the phone or WhatsApp contact in the website header to ask about the current itinerary and available guidance. Do not assume a particular lesson, species or photographic opportunity is included. The upright picture remains an option you can recognise, not an outcome anyone can promise.
Frequently asked questions
Should a standing bird always be photographed vertically?
No. A tail, wing position, sideways gaze or surrounding shape may need width. Choose the orientation that gives the visible posture and its setting a clear arrangement.
Do I need a battery grip or a new support?
Start by practising with the equipment you already use and following its instructions. Buy nothing merely to complete this exercise. If a supported setup is unfamiliar, learn how it carries the camera and lens before using it around wildlife.
Can I crop a horizontal wildlife photograph into a vertical one?
You can compare a non-destructive crop while keeping the original. Check the remaining detail and the actual composition for the intended output. A crop cannot recover parts that were outside the recorded frame.
Where should I put the animal in an upright frame?
There is no compulsory position. Check the space around the full outline, the direction of gaze or movement, and the relationship between the animal and the top, bottom and side boundaries.
What if the animal starts moving sideways?
Consider returning to a horizontal frame or loosening the composition if you can do so safely. A workable photograph matters more than maintaining the orientation you first chose.
How can I tell whether a vertical picture is stronger?
Compare the complete images at a normal viewing size. Describe what the height adds, check for awkward edge cuts and decide whether the arrangement supports the subject. Do not select it simply because it is different.