One animal looks clear in the preview. The second, standing just behind it, looks soft. Before blaming autofocus, ask a different question: did the picture need both animals to be equally sharp, and did your setup give that intention a reasonable chance?
Wildlife groups turn focus into a storytelling decision. The nearest face may not be the most important one. A soft animal can explain a relationship, or become a distracting shape. A narrower aperture can help with depth, but it can also force an exposure compromise just as a head turns. There is no useful group-photography setting that removes those decisions.
This guide is a way to make them calmly. Work from a safe, permitted position, respect your guide’s directions and let the animals arrange themselves. The goal is to read the group you have, rather than manufacture a formation for the camera.
Choose whether this is a group portrait or a portrait within a group
Start with the picture’s purpose. In a group portrait, the viewer may need to read several faces or gestures together. In a portrait within a group, one animal leads while the others explain its surroundings. Those are different photographs even when the animals occupy exactly the same patch of ground.
Try describing your intention without camera language. “Both heads looking in different directions” gives you a clearer task than “get everything sharp.” “The alert animal in front of a resting group” makes a single focal subject reasonable. You can change your mind as the scene changes, but give the first frame an identifiable job.
Do not confuse the number of animals with the number of subjects. A frame containing several indistinct bodies may still be about one face. Equally, a pair occupying a small part of the photograph may need both members to remain readable. Decide what carries the relationship before choosing which detail can become less distinct.
Read distance through the group, not only across the frame
Two animals can appear close together on the screen while standing at noticeably different distances from the camera. Another pair may be spread across the frame but occupy roughly the same distance. Left-to-right separation and front-to-back separation are different problems.
Look for a near subject, a far subject and any important detail between them. That quick distance map helps you understand what you are asking the lens to render acceptably sharp. Canon’s depth-of-field explanation identifies aperture, subject distance and focal length among the factors that influence the result. A focus point is therefore only part of the decision.
You do not need to calculate distances during a fleeting sighting. Notice the arrangement first. Is the second head behind the first shoulder? Does the group form a shallow row or a long diagonal? That observation can tell you whether to attempt the group picture, wait for a different alignment or concentrate on one animal instead.
Give the focus target a reason
Choose a target because it matters to the picture, rather than because the camera happens to highlight it. If one animal is the clear subject, check that focus is on the detail that makes its gesture readable. If the picture depends on a pair, review both animals rather than accepting one successful focus confirmation as proof of the whole frame.
There is no universal instruction to focus on the nearest eye or halfway between every pair. The subjects’ separation, your framing and the available depth of field change the problem. A numerical-looking rule can hide the fact that the important second face is still outside the acceptable range.
Use the autofocus selection method you know, and consult the camera’s instructions for changing subjects when detection offers several choices. Do not assume that several detection boxes mean several distances are simultaneously in focus. Treat the resulting photograph as the evidence. If the camera selects the wrong animal, the recovery task resembles the deliberate target choice in our guide to recovering focus through foliage, though here the competing target is another animal.
Use aperture as a trade, not a rescue promise
A smaller aperture, shown by a higher f-number, increases depth of field when other relevant factors remain the same. Canon’s aperture guide explains that relationship alongside the change in light reaching the sensor. It is a useful tool for a group, but it is not a guarantee that every animal will become sharp.
Make a modest change and inspect what it achieved. Check the near and far details that matter, not just the centre of the preview. If the group extends deeply into the scene, another aperture change may still leave you with an unsuitable arrangement. Waiting for a shallower grouping can be more useful than continuing to turn a dial.
Also inspect what the background is doing. More visible vegetation can strengthen a habitat picture or compete with the faces. Keep that consequence in the decision. The aim is enough readable detail for this photograph, not the largest possible region of detail at any cost.
Protect movement while you add depth
After changing aperture, check the actual shutter speed and ISO selected by you or the camera. In aperture priority, the camera may compensate for less light with a longer exposure. With automatic ISO, its response also depends on your configuration and limits. Know your own setup rather than assuming one dial affects nothing else.
A resting group is still capable of small movements. One animal may turn its face while another remains still. If an exposure becomes too long for the movement you want to describe, a frame can gain depth of field yet lose the gesture to motion blur. That is not a successful exchange simply because the aperture number looks more suitable.
Separate these questions during review: was focus placed correctly, was enough depth available, and did movement blur an important detail? Each suggests a different adjustment. If you cannot preserve both the necessary motion treatment and the desired depth in the available light, simplify the intention. A clear single-subject picture is a valid choice.
Let alignment improve without directing the animals
Watch how the heads move relative to one another. A turn or a step can bring important details closer to a common distance, or spread them farther apart. Remain ready for the arrangement to improve naturally, but do not expect the group to complete a composition you have imagined.
Any change in your own viewpoint must stay within the rules and the safe space available. Do not lean out, leave a vehicle, block another visitor or ask for an unsafe repositioning to make a focus problem easier. If your permitted position offers no workable alignment, that is a limit of the sighting, not a reason to disturb it.
A useful waiting habit is to keep one clear subject while watching the others at the edge of your attention. Then you can recognise a brief pair or row without searching for the original animal again. This is observation, not a prediction of what a species will do next.
Untangle bodies before celebrating the faces
Even when the relevant heads look sharp, inspect the rest of the arrangement. An extra leg can seem to emerge from the leading animal. A rear face can disappear into a shoulder. A bright ear behind an eye can become more noticeable than the relationship you hoped to show.
Try a small framing change from your allowed position, or wait for a little visual separation. You do not need a clean gap around every animal. Some overlap can explain closeness. The question is whether a viewer can understand the bodies without reconstructing them like a puzzle.
Check the outermost animal as carefully as the central one. An accidental cut through a face, foot or tail can make an otherwise deliberate group feel unfinished. If the composition is intentionally tight, make that choice clear. Leave yourself enough room to respond when one member changes its posture.
Keep a soft animal useful
A less distinct secondary animal can belong in a strong photograph. It might establish the presence of a group, echo the leading subject’s shape or give the main gesture context. Judge what it contributes instead of rejecting it solely because it is not as sharp as the subject.
However, softness does not automatically make an object unobtrusive. A pale, large or centrally placed shape can still pull attention. Ask whether the secondary animal reads as an animal, a supporting shape or an unexplained distraction. If you cannot explain its role, try a simpler frame.
This is different from treating every group as an environmental portrait. Our habitat guide asks what the setting contributes. Here, the decision is about the visual relationship between animals. The background may be minimal while that relationship remains the whole point.
Practise with a quiet, clearly defined comparison
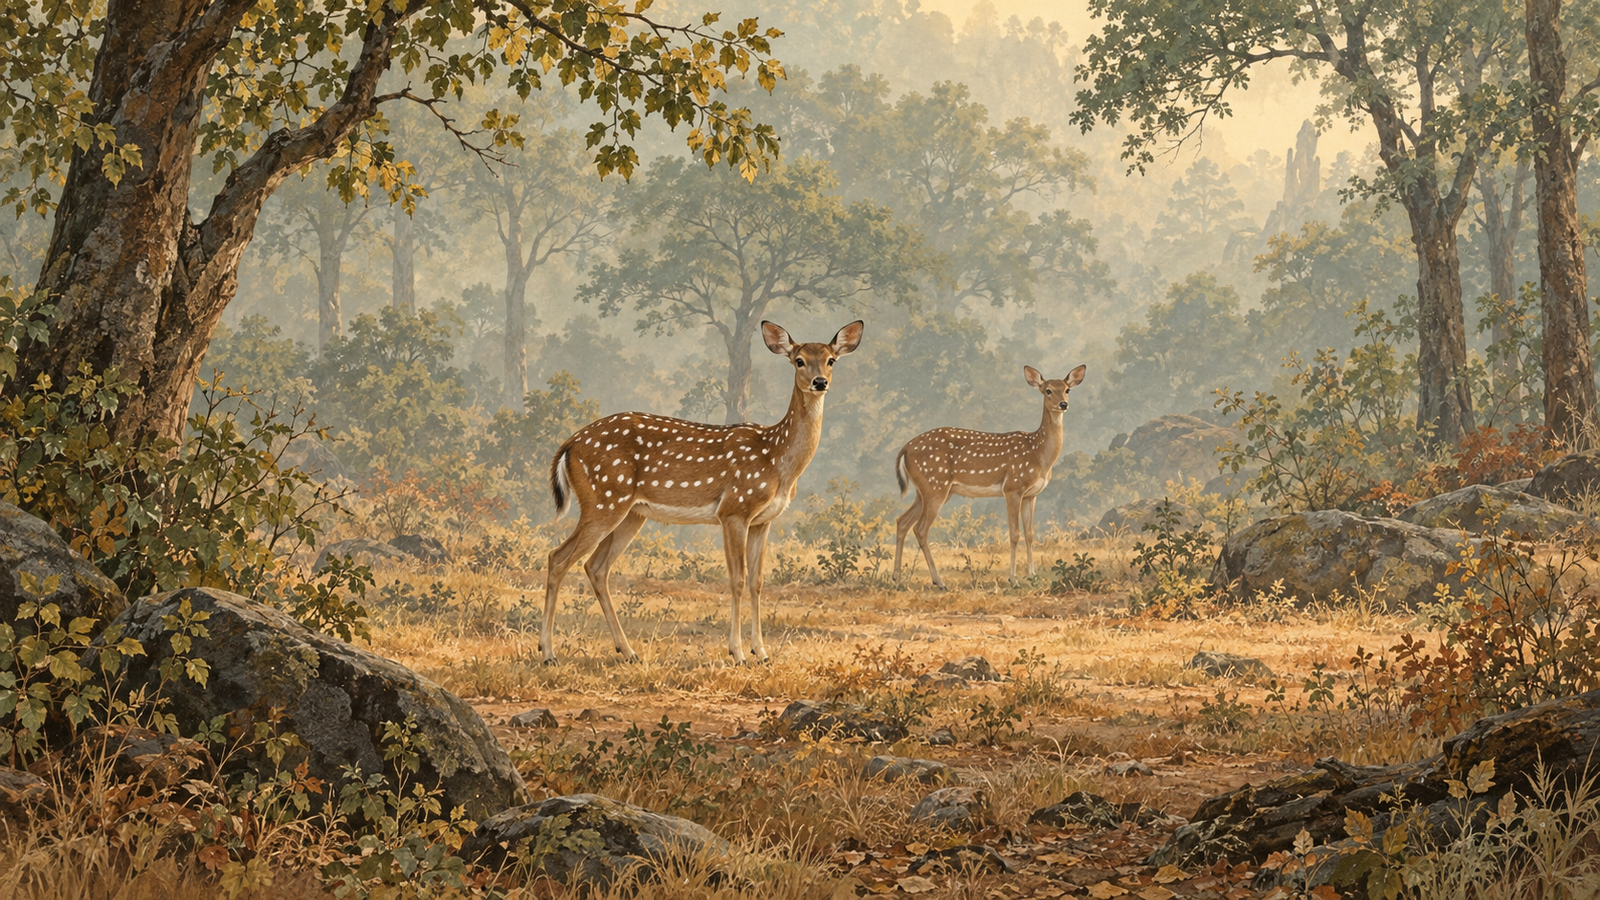
Imagine a hypothetical sighting of two deer standing at different distances. You are stationary in a permitted viewing position. The nearer deer faces the camera; the farther one faces sideways. This is an invented teaching example, not an account of a Katrivia expedition or a suggestion that deer will hold a pose.
First, make a picture led by the nearer animal. Then, only if the scene allows, attempt a frame in which both heads matter. Change aperture deliberately while watching the shutter speed and exposure response. Note which face you used as the focus target. Stop the comparison if you lose awareness of the sighting or anyone around you.
On review, compare the two intentions rather than asking which image has more sharp pixels. Does the first frame clearly lead your eye? Does the second communicate a relationship that justifies its compromise? If neither works, identify whether distance, overlap or movement was the limiting factor. That diagnosis is more useful than collecting a long burst of unexplained variations.
Review a group at both picture size and detail size
Begin with the whole photograph at a normal viewing size. Establish what you notice first and whether the group reads as intended. Then inspect the important details more closely. This order prevents a beautifully rendered patch of fur from disguising a confused picture.
Compare the leading face with the farthest face you intended to keep readable. Look for an abrupt loss of detail, directional movement or focus on a different subject. Check the exposure information for clues, but do not let a plausible setting overrule what the file actually shows.
Finally, return to the whole frame. Your final judgement belongs at the scale and use for which you are selecting the image. Do not claim that an unimportant distant animal must survive the same scrutiny as the main face. Equally, do not excuse a missing part of the intended relationship just because the group looked exciting in the field.
Restore readiness when the group breaks apart
A group exercise can leave the camera prepared for a scene that no longer exists. Before the next sighting, check the aperture, focus target method, shutter speed behaviour and any exposure change you made. Restore your familiar working setup where appropriate.
Keep one short lesson: perhaps both faces needed less distance separation, or perhaps the photograph was stronger when only one animal led. Avoid turning that lesson into an absolute rule for every group. The next arrangement may ask for a different compromise.
What becomes repeatable is the sequence of decisions: name the relationship, read its depth, choose a target, protect movement and check the full arrangement. That is a more useful field habit than memorising a supposedly perfect aperture.
Frequently asked questions
Should every animal in a group photograph be sharp?
No. Decide whether several animals carry the picture together or one animal leads. Supporting animals can be softer when their presence remains useful and the result looks deliberate.
Why is the second animal soft even though autofocus detected it?
Detection and focus selection are different from having enough depth of field. Check the chosen target, the animals’ front-to-back separation and the actual result before assuming autofocus has failed.
What aperture should I use for a wildlife group?
There is no universal value. Aperture is one factor alongside distance, framing and the sharpness your picture requires. Make a controlled adjustment, check the important animals and watch the exposure trade.
Should I focus halfway between two animals?
Do not treat halfway as a guarantee. The useful focus position depends on the scene and available depth. Give the important details a deliberate priority and verify both in the resulting photograph.
Can I solve the problem by moving around the group?
Only consider viewpoints that are safe and permitted. Never approach, direct or disturb wildlife for alignment. Waiting, simplifying or accepting that the picture is unavailable are valid choices.
How can I practise the distance decision before a safari?
Use stationary ordinary objects at different distances in a safe place. Compare a single-subject intention with a multi-subject intention, changing one control at a time. This teaches the checking habit without depending on wildlife.