
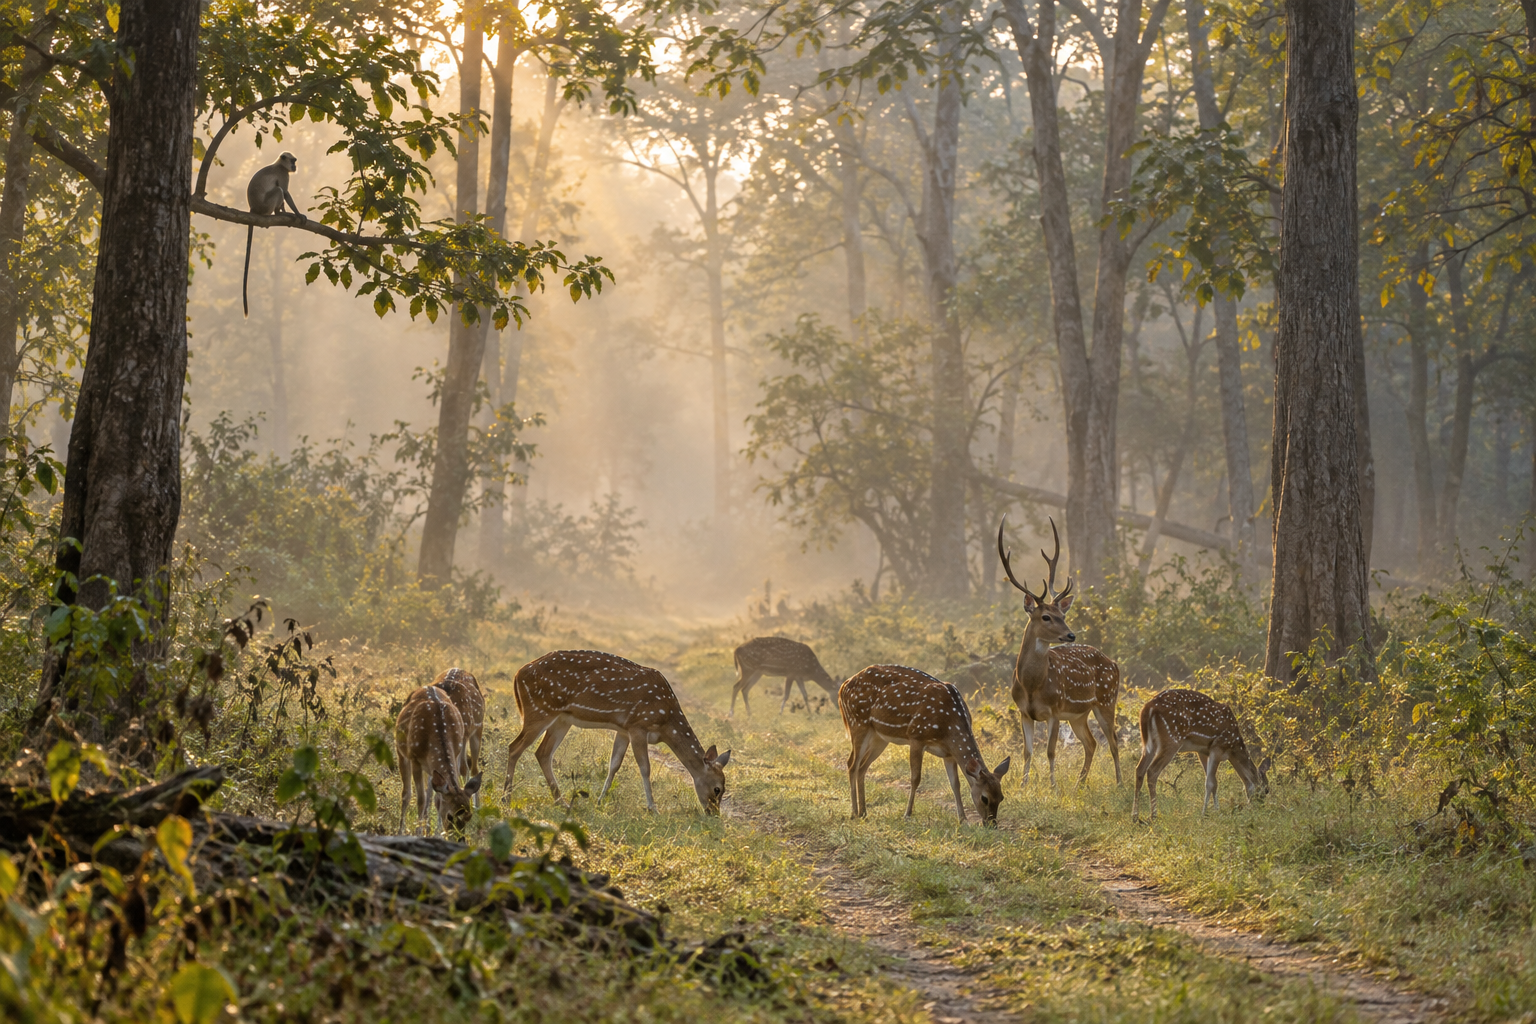
Most beginners step off their first safari with a memory card full of near-misses. The light was right, the forest delivered, and yet the photographs somehow do not match what the moment felt like. That gap is normal, and it usually comes down to a handful of repeatable mistakes rather than talent or equipment. Here are the ones that show up most often, and the practical fixes that close the gap fastest.
Expecting the forest to perform on your schedule
The single most common beginner mistake is arriving with a shot list. A tiger by ten o’clock, a leopard on a branch, elephants at the water’s edge before lunch. Forests like Bandipur, Kabini or Nagarahole do not work on anyone’s timetable, and the frustration of an unmet checklist is what makes people stop noticing what is actually in front of them.
The fix is to redefine what a successful drive looks like. A morning that gives you one clean frame of a common subject in good light is a productive morning. Alarm calls, fresh tracks, a change in the deer’s posture: these are the forest’s announcements, and a photographer who treats them as the main event tends to be ready when a larger sighting does happen. Sighting-led photography is luck. Readiness-led photography is a skill, and it is the one that compounds over every drive you do afterwards.
Letting the camera make the big decisions
Modern cameras are genuinely good, and that is exactly the trap. Auto modes are calibrated for average scenes, and a forest is rarely average. Dark shade under a canopy, a backlit clearing, an animal that moves from deep shadow into open grass within seconds: each of these confuses fully automatic exposure in a different way.
Trusting full auto in changing forest light
A reasonable starting point for most safari light is aperture priority with auto ISO and a sensible minimum shutter speed set in the camera’s menu. That combination keeps you in control of depth of field and motion while letting the camera absorb the light swings. You do not need to master manual mode before your first safari. You do need to know which one dial changes your shutter speed and which one changes your exposure compensation, because you will reach for both constantly.
Shutter speeds that cannot freeze movement
Motion blur is the quiet killer of beginner safari files. A perched bird may hold sharp at a modest speed, but the same speed smears a langur mid-leap or a deer shaking its head. As a rough habit rather than a rule, keep shutter speed clearly above what feels necessary for a still subject, because wildlife subjects rarely stay still for the frame that matters. If the light forces a choice, it is usually better to accept a higher ISO and some noise than a soft, blurry file that no software can repair.
Focus that hunts at the wrong moment
Default focus setups are built for cooperative subjects, and wildlife is rarely cooperative. Wide-area autofocus with subject detection works well when an animal is isolated against a clean background, but in tall grass or dappled shade the camera will often prefer a blade of grass to an eye. Many beginners do not notice until the evening review, when a whole sequence turns out to be sharp on the wrong thing.
A more reliable habit is to choose a smaller focus area, place it deliberately on the animal’s eye or head, and re-place it every time the composition shifts. If your camera offers animal eye detection, treat it as a strong assistant rather than an autopilot: glorious when it locks, but it still needs you to watch where it has actually locked. Back-button focus, where focusing is moved off the shutter button, is worth trying once you are comfortable, because it separates the two decisions of focusing and shooting. It is not mandatory, and plenty of good safari work is made without it.
Chasing the sighting instead of working the scene
When a vehicle full of beginners hears about a tiger two zones away, the instinct is to rush. What usually follows is a long drive, a crowd of vehicles, and a view of the cat’s tail disappearing into cover. Meanwhile the zone they left was producing a peacock in display or a herd in beautiful side light.
Experienced photographers tend to do the opposite: when they find a workable scene with decent light, they stay and work it. They make the safe frame first, then look for a better one: a cleaner angle, a tighter crop of behaviour, a wider frame that uses the habitat. Ten deliberate minutes on an ordinary subject will teach a beginner more than an hour of driving between rumours.
Forgetting the background and the frame edges
Beginners watch the subject. More experienced eyes watch everything around the subject. A bright patch of sky behind dark fur, a branch that appears to grow out of an animal’s head, another deer cut in half at the frame’s edge: these are the things that separate a snapshot from a photograph, and they are all visible in the viewfinder before the shutter fires.
The fix is a small habit: before pressing the shutter, run your eye once around the edges of the frame. Sometimes the answer is a small shift of position or a slight re-aim. On a safari vehicle your movement options are limited, which makes it even more worth asking the driver to roll forward or back a few feet when the scene justifies it. Drivers and naturalists generally respond well to a specific, polite request made before the moment peaks, not during it.
Shooting only when the light is easy
Many beginners relax after ten in the morning because the photography feels done: the light is harsh, the animals are resting, and the drive becomes a formality. Some of the most instructive frames happen exactly then. Harsh light is unforgiving, but it teaches you to look for shade edges, backlight through dust, and subjects under cover where the contrast falls back into range. Overcast mornings, which beginners often greet with disappointment, are in practice some of the kindest light a forest offers: soft, even, and far more forgiving of slight exposure errors.
Mist, when it appears, changes everything and usually lasts minutes. The beginner’s mistake is to keep the same settings and framing as the fog rolls in. Misty frames often want a slightly wider composition and a touch of positive exposure compensation, because the camera’s meter tends to darken bright fog. None of this is a rule. It is the habit of treating changing light as a new problem to solve rather than a reason to put the camera down.
Gear mistakes that only show up in the field
Most gear problems on safari are not about what you own. They are about what is within reach when something happens. A long lens packed inside a bag misses the leopard crossing the track. A battery left on charge at the lodge ends a good drive early. A monopod or tripod that cannot be used in a crowded vehicle becomes dead weight.
A few field-tested habits help. Keep the camera assembled, switched on, and on your lap or a stable support, not in a bag. A bean bag placed over the vehicle’s frame rail is often the most practical support on a shared safari vehicle, and it works with almost any seating position. Carry at least one spare battery and a spare memory card in a pocket, not in the lodge. And if you own two bodies or two lenses, decide before the drive which combination stays ready; swapping lenses in a dusty, moving vehicle is how sensors collect debris at the worst possible time.
Behaviour that costs you, and others, the moment
Wildlife responds to sound and movement long before it responds to the camera. Excited whispers that are not actually quiet, sudden standing, camera straps and lens hoods clattering against metal: each of these shortens the distance at which an animal decides it has had enough. In many reserves there are also clear rules about staying seated, keeping limbs inside the vehicle, and not pressuring drivers to break distance guidelines, and those rules exist for the animal’s sake as much as yours.
The photographers who consistently come back with calm, natural behaviour in their frames are usually the quietest people in the vehicle. Slow movements, lenses raised gently, voices kept low even in excitement. It is worth remembering that your behaviour also shapes the sighting for every other vehicle that arrives after you.
Skipping the evening review
Beginners often treat the drive as the whole job. The faster learners treat the drive as the first half. Fifteen minutes in the evening with the day’s files, deleting ruthlessly and asking why the keepers worked, builds judgement faster than any setting change. Look for patterns: were the blurry frames all from one part of the drive when the light dropped? Are the best files from the moments you waited rather than chased? That honest evening look is what turns one safari’s lessons into the next safari’s better photographs.
A simple way to structure the review is to sort the day into three piles. The first is technical failures: soft focus, blur, exposure misses. Each one gets a cause named out loud, not just a delete key. The second is near-misses: sharp files where the composition or timing was slightly off, which tell you what to watch for tomorrow. The third is the keepers, and these deserve the same question in reverse: what exactly did I do right here, and can I repeat it on purpose? Beginners who can answer that question about their own best frame of the day improve visibly between drives, because they have stopped relying on luck and started repeating decisions.
Learning faster with the right company
Every mistake on this list is fixable, and most fix themselves with a few drives of honest attention. What a guided photography expedition adds is compression: someone beside you who has already made these mistakes, pointing out the light, the background and the animal’s behaviour while it is happening rather than in the evening review. Katrivia Expeditions is led by founder Arvind Karthik, a nature and wildlife photographer whose journey began in 2014 and who has worked professionally since 2019, much of it in the forests of Bandipur and Nagarahole. The expeditions combine guided wildlife tours with on-field photography training, so beginners spend their drives building the right habits from day one.
If you would like to plan a safari where the photography guidance comes with the forest, call or WhatsApp +91 96208 08727 and the team will help you find the right expedition.
Frequently Asked Questions
Is a safari a good place to learn wildlife photography?
Yes, arguably one of the best. A safari compresses varied subjects, changing light and real behaviour into a few hours, which is exactly the practice a beginner needs. Going with realistic expectations and, where possible, an experienced mentor makes the learning curve noticeably gentler.
What camera settings should a beginner start with on safari?
A widely used starting point is aperture priority, auto ISO, and a minimum shutter speed set high enough to freeze subject movement, with exposure compensation used as the light changes. The exact numbers depend on your camera, lens and the conditions on the day, so it is worth practising the dials before the trip rather than learning them mid-sighting.
How many safaris does it take to start getting good photographs?
There is no fixed number, and anyone promising one is guessing. What shortens the curve is not the count of drives but the quality of attention on each one: working scenes patiently, reviewing files every evening, and fixing one mistake at a time.
Should I shoot in burst mode the whole time?
Burst mode helps when behaviour peaks, such as a bird taking off or two deer sparring, but holding the shutter down constantly fills cards with near-identical frames and can make you stop timing the moment. A short, deliberate burst at the peak of action usually beats a long hopeful one.
What is the biggest beginner mistake on a wildlife safari?
If one had to be chosen, it is chasing sightings instead of working the scene in front of you. Most other mistakes, such as soft images, busy backgrounds and missed moments, are easier to fix once you are spending your drive time deliberately rather than driving between rumours.
Do I need an expensive lens to come back with good safari photos?
No. Long, fast lenses help in low light and with distant subjects, but light, timing, position and field craft decide far more of the final image than the price tag does. Many strong safari portfolios are built on mid-range gear used patiently.